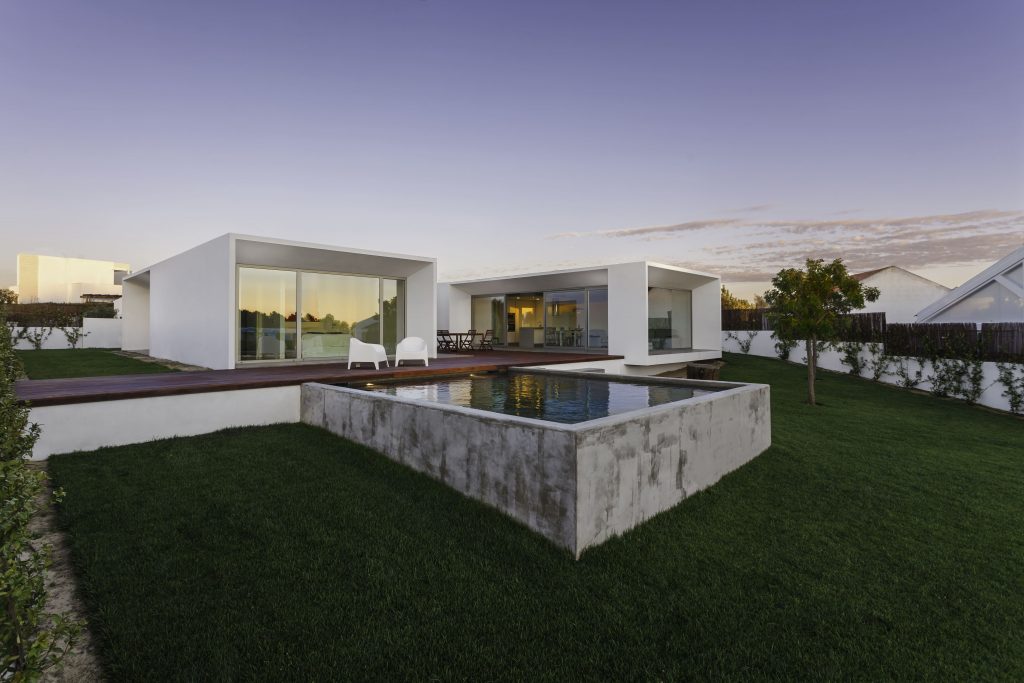
It’s all very well having a concrete swimming pool in your garden, but what do you do in the event that it becomes damaged? Can you repair a concrete pool? And if so, how do you go about renovating a concrete pool?
In this article, we’re going to answer these questions and more, including how to easily identify when your concrete pool has structural damage and a step-by-step guide on how to rectify the situation.
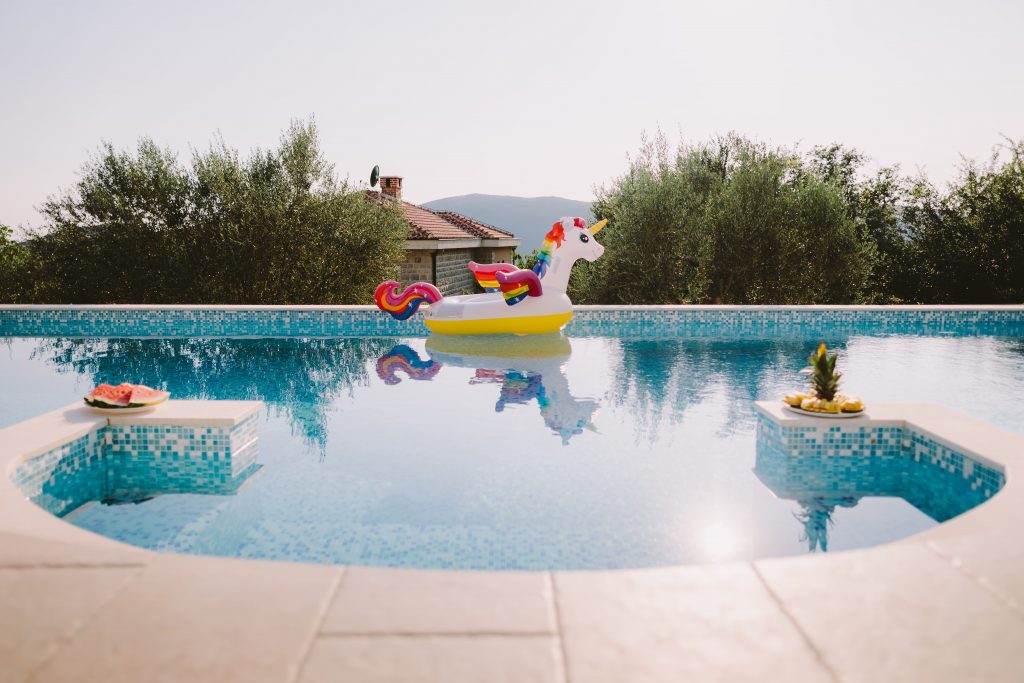
Without further ado, let’s dive in!
Can you repair a concrete pool?
Can you repair a concrete pool? The short answer is yes! However, it’s not a simple case of just slapping in some filler and being done with it. First, you need to identify the severity of the damage and decide whether it is something that you are comfortable handling by yourself.
After all, if the damage is critical and your repairs aren’t carried out properly, the repercussions could end up even worse.
How to identify whether your concrete pool has a surface crack or a structural crack
Noticing a crack in your swimming pool might not be as easy as you think. In addition, at a glance, it can be difficult to spot whether the crack is coming from the plaster itself, or the actual shell of the swimming pool.
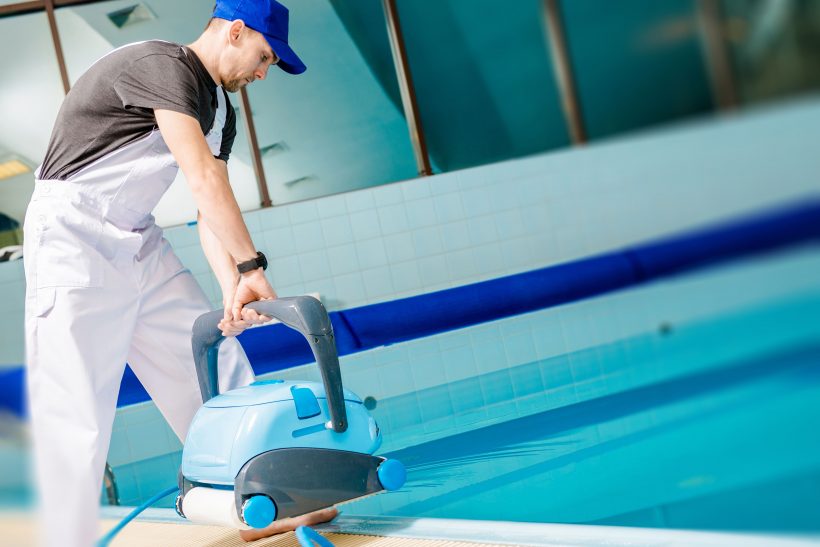
Ultimately, if you aren’t sure, your best bet is to call the local swimming pool experts, such as West Coast Pool Resurfacing. That way, they can identify the issue for you and subsequently prescribe the best remedy. However, if you want to hold off before you have to part ways with any money, then here are a few things to watch out for:
- Structural cracks look far deeper
- If your pool seems to be losing water, it could be a structural crack
- Surface cracks are typically smaller (and can form in clusters)
- If the plaster is flaking away, but the concrete underneath is still intact, then it’s just a case of resurfacing the pool
In any case, you’ll want to act fast before the damage gets any worse. Read on for tips on how to fix a concrete swimming pool.
How do you renovate a concrete pool?
So, how do you renovate a concrete swimming pool? Here’s a step-by-step guide that should help:
Before you do anything, you should drain your swimming pool (unless you fancy popping on the scuba gear and hoping for the best).
Additionally, you must be prepared with all of your safety equipment.
1 – Remove damaged surface material
First, you should remove any surface materials. If you have cracks in the substrate, use a concrete grinder in order to cut them out (at least 1” on either side of the length of the crack). You must always wear PPE (personal protective equipment) when doing so.
Following that, you can chisel away a few pockmarks on the surface of the pool, which will help with the patch material bonding process.
2 – Identify any hollow points
Next up, you want to try and identify any hollow points. Certainly, spotting cracks is easy, but in order to successfully repair your pool, you need to make sure that there are no hollow points spots nearby.
As you may have already guessed, the best way to identify these places will be by gently tapping on the pool’s walls. When you hear a hollow sound, remove the surface material ready to replace it with your new mixture.
3 – Thoroughly clean the surface
Before you make any new applications, you first need to thoroughly clean the surface and remove any dust and grit. Once this is done, give the surface an acid bath/rinse.
Again, make sure you are prepared with your safety gear before handling acid wash, otherwise, you are putting yourself at tremendous risk.
4 – Fill in the cracks and gaps
Once you’ve given the surface a good scrubbing, you can now begin filling in the cracks and gaps with caulk, allowing 1/4” for an even layer of plaster afterward.
Once the caulk has been applied, you must allow at least 24 hours for it to dry.
5 – Apply your fill mixture
Next, apply the following mixture:
- White concrete
- White sand
- An acrylic cement bonding agent
- Water
This will appear as a thin putty that can be applied with a trowel. Smooth the mixture into all of the holes and corners, forcing out any air bubbles.
Once you have a nice, level, and smooth surface, allow 15 minutes for it to settle before smoothing over the surface once more.
6 – Texture your new surface area
The old surface will have a much rougher surface than the freshly repaired area. You can match these textures by dabbing the fresh spot with a wet sponge.
Once you are finished and happy with your repairs, fill the swimming pool with water immediately.
If you cannot fill the pool straight away, then wet towels should be spread over the newly repaired areas instead.
Conclusion
And there we have it! As you can see, the process is actually rather complicated and will require that you gear up with the appropriate PPE.
If you don’t feel confident with this process, then you should simply call the experts and have them take care of this for you. It might even be a good opportunity for you to upgrade the surface of your swimming pool entirely.